208 lines
5.3 KiB
Markdown
208 lines
5.3 KiB
Markdown
# Nginx 运维
|
||
|
||
<!-- TOC depthFrom:2 depthTo:3 -->
|
||
|
||
- [Windows 安装](#windows-安装)
|
||
- [Linux 安装](#linux-安装)
|
||
- [rpm 包方式(推荐)](#rpm-包方式推荐)
|
||
- [源码编译方式](#源码编译方式)
|
||
- [Linux 开机自启动](#linux-开机自启动)
|
||
- [rpm 包方式](#rpm-包方式)
|
||
- [源码编译方式](#源码编译方式-1)
|
||
- [脚本](#脚本)
|
||
- [参考资料](#参考资料)
|
||
|
||
<!-- /TOC -->
|
||
|
||
## 一、普通安装
|
||
|
||
### Windows 安装
|
||
|
||
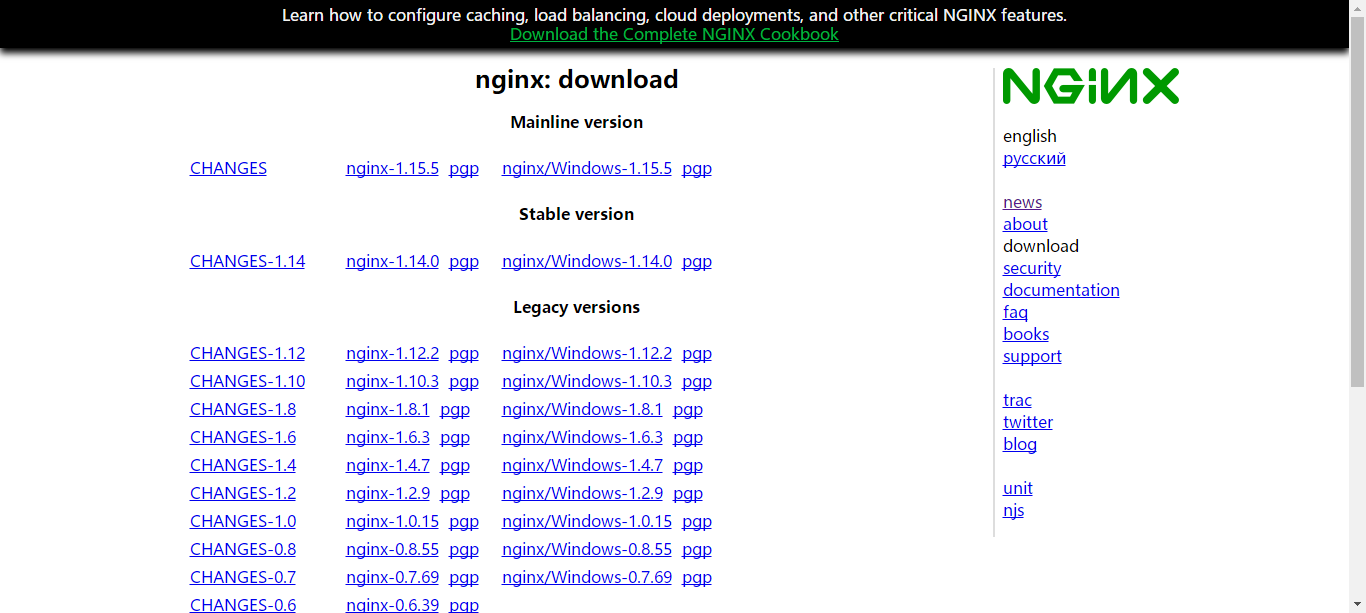
(1)进入[官方下载地址](https://nginx.org/en/download.html),选择合适版本(nginx/Windows-xxx)。
|
||
|
||

|
||
|
||
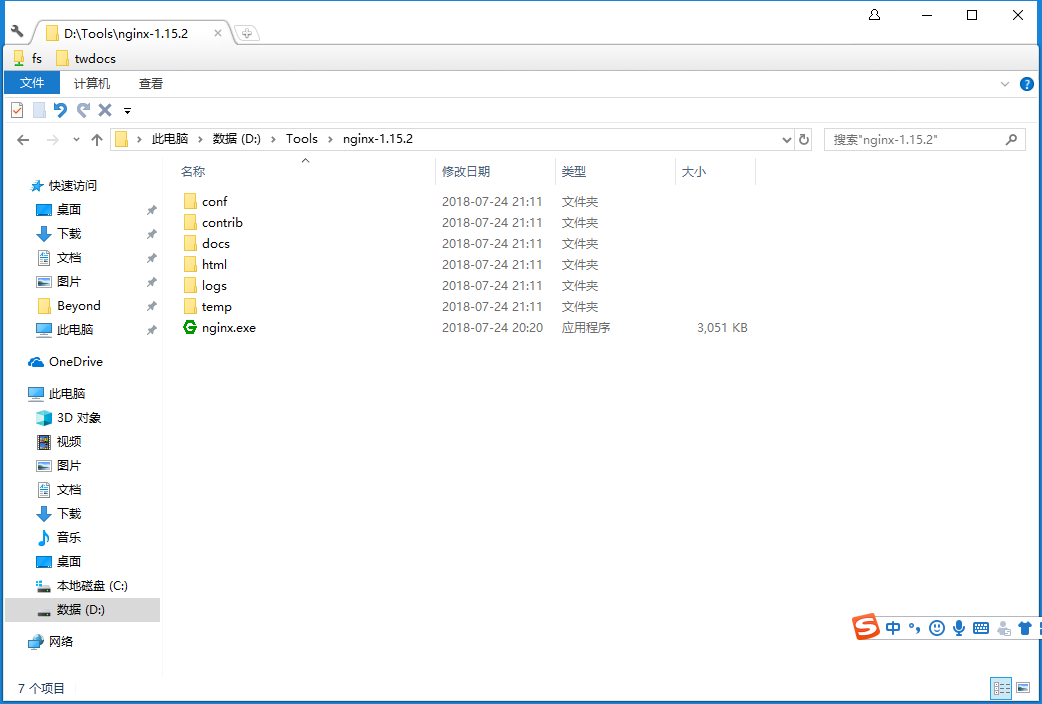
(2)解压到本地
|
||
|
||

|
||
|
||
(3)启动
|
||
|
||
下面以 C 盘根目录为例说明下:
|
||
|
||
```bash
|
||
cd C:
|
||
cd C:\nginx-0.8.54 start nginx
|
||
```
|
||
|
||
> 注:Nginx / Win32 是运行在一个控制台程序,而非 windows 服务方式的。服务器方式目前还是开发尝试中。
|
||
|
||
### Linux 安装
|
||
|
||
#### rpm 包方式(推荐)
|
||
|
||
(1)进入[下载页面](http://nginx.org/packages/),选择合适版本下载。
|
||
|
||
```bash
|
||
$ wget http://nginx.org/packages/centos/7/noarch/RPMS/nginx-release-centos-7-0.el7.ngx.noarch.rpm
|
||
```
|
||
|
||
(2)安装 nginx rpm 包
|
||
|
||
nginx rpm 包实际上安装的是 nginx 的 yum 源。
|
||
|
||
```bash
|
||
$ rpm -ivh nginx-*.rpm
|
||
```
|
||
|
||
(3)正式安装 rpm 包
|
||
|
||
```bash
|
||
$ yum install nginx
|
||
```
|
||
|
||
(4)关闭防火墙
|
||
|
||
```bash
|
||
$ firewall-cmd --zone=public --add-port=80/tcp --permanent
|
||
$ firewall-cmd --reload
|
||
```
|
||
|
||
#### 源码编译方式
|
||
|
||
##### 安装编译工具及库
|
||
|
||
Nginx 源码的编译依赖于 gcc 以及一些库文件,所以必须提前安装。
|
||
|
||
```bash
|
||
$ yum -y install make zlib zlib-devel gcc-c++ libtool openssl openssl-devel
|
||
```
|
||
|
||
Nginx 依赖 pcre 库,安装步骤如下:
|
||
|
||
(1)下载解压到本地
|
||
|
||
进入[pcre 官网下载页面](https://sourceforge.net/projects/pcre/files/pcre/),选择合适的版本下载。
|
||
|
||
我选择的是 8.35 版本:
|
||
|
||
```bash
|
||
wget -O /opt/pcre/pcre-8.35.tar.gz http://downloads.sourceforge.net/project/pcre/pcre/8.35/pcre-8.35.tar.gz
|
||
cd /opt/pcre
|
||
tar zxvf pcre-8.35.tar.gz
|
||
```
|
||
|
||
(2)编译安装
|
||
|
||
执行以下命令:
|
||
|
||
```bash
|
||
cd /opt/pcre/pcre-8.35
|
||
./configure
|
||
make && make install
|
||
```
|
||
|
||
(3)检验是否安装成功
|
||
|
||
执行 `pcre-config --version` 命令。
|
||
|
||
##### 编译安装 Nginx
|
||
|
||
安装步骤如下:
|
||
|
||
(1)下载解压到本地
|
||
|
||
进入官网下载地址:http://nginx.org/en/download.html ,选择合适的版本下载。
|
||
|
||
我选择的是 1.12.2 版本:http://downloads.sourceforge.net/project/pcre/pcre/8.35/pcre-8.35.tar.gz
|
||
|
||
```bash
|
||
wget -O /opt/nginx/nginx-1.12.2.tar.gz http://nginx.org/download/nginx-1.12.2.tar.gz
|
||
cd /opt/nginx
|
||
tar zxvf nginx-1.12.2.tar.gz
|
||
```
|
||
|
||
(2)编译安装
|
||
|
||
执行以下命令:
|
||
|
||
```bash
|
||
cd /opt/nginx/nginx-1.12.2
|
||
./configure --with-http_stub_status_module --with-http_ssl_module --with-pcre=/opt/pcre/pcre-8.35
|
||
make && make install
|
||
```
|
||
|
||
(3)关闭防火墙
|
||
|
||
```bash
|
||
$ firewall-cmd --zone=public --add-port=80/tcp --permanent
|
||
$ firewall-cmd --reload
|
||
```
|
||
|
||
(4) 启动 Nginx
|
||
|
||
安装成功后,直接执行 `nginx` 命令即可启动 nginx。
|
||
|
||
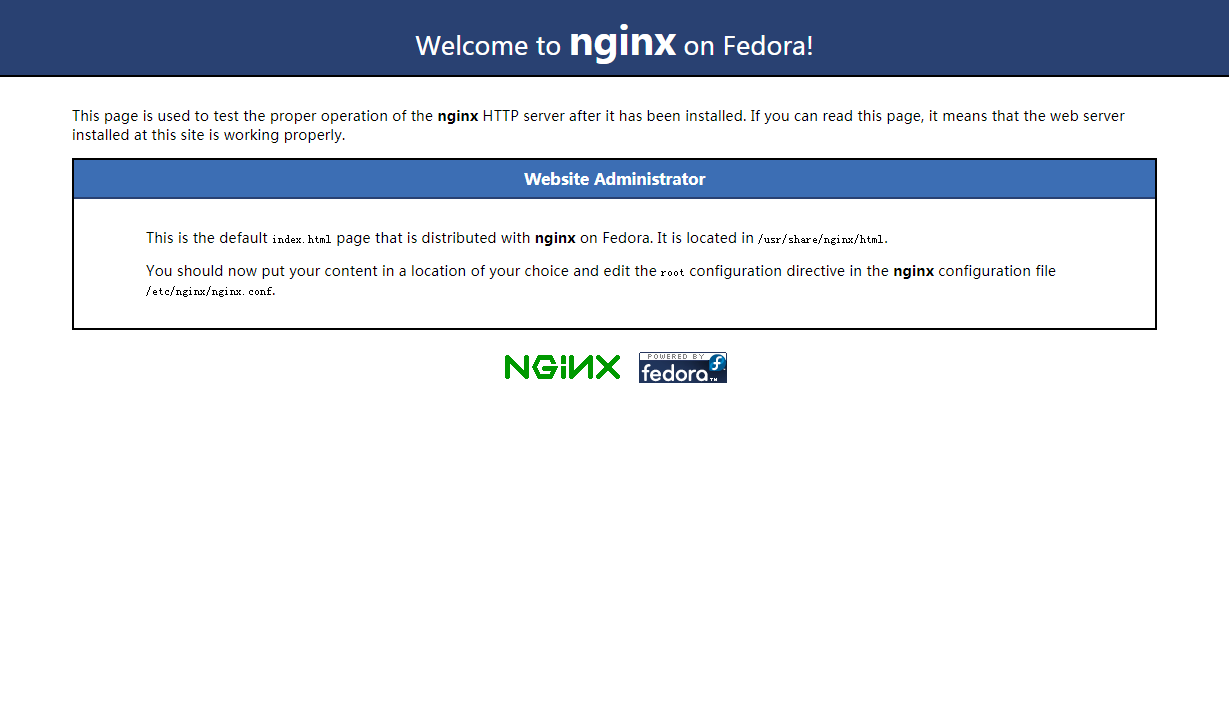
启动后,访问站点:
|
||
|
||

|
||
|
||
#### Linux 开机自启动
|
||
|
||
Centos7 以上是用 Systemd 进行系统初始化的,Systemd 是 Linux 系统中最新的初始化系统(init),它主要的设计目标是克服 sysvinit 固有的缺点,提高系统的启动速度。Systemd 服务文件以 .service 结尾。
|
||
|
||
##### rpm 包方式
|
||
|
||
如果是通过 rpm 包安装的,会自动创建 nginx.service 文件。
|
||
|
||
直接用命令:
|
||
|
||
```bash
|
||
$ systemctl enable nginx.service
|
||
```
|
||
|
||
设置开机启动即可。
|
||
|
||
##### 源码编译方式
|
||
|
||
如果采用源码编译方式,需要手动创建 nginx.service 文件。
|
||
|
||
## 二、Docker 安装
|
||
|
||
- 官网镜像:https://hub.docker.com/_/nginx/
|
||
- 下载镜像:`docker pull nginx`
|
||
- 启动容器:`docker run --name my-nginx -p 80:80 -v /data/docker/nginx/logs:/var/log/nginx -v /data/docker/nginx/conf/nginx.conf:/etc/nginx/nginx.conf:ro -d nginx`
|
||
- 重新加载配置(目前测试无效,只能重启服务):`docker exec -it my-nginx nginx -s reload`
|
||
- 停止服务:`docker exec -it my-nginx nginx -s stop` 或者:`docker stop my-nginx`
|
||
- 重新启动服务:`docker restart my-nginx`
|
||
|
||
## 三、脚本
|
||
|
||
> CentOS7 环境安装脚本:[软件运维配置脚本集合](https://github.com/dunwu/linux-tutorial/tree/master/codes/linux/soft)
|
||
|
||
**安装说明**
|
||
|
||
- 采用编译方式安装 Nginx, 并将其注册为 systemd 服务
|
||
- 安装路径为:`/usr/local/nginx`
|
||
- 默认下载安装 `1.16.0` 版本
|
||
|
||
**使用方法**
|
||
|
||
- 默认安装 - 执行以下任意命令即可:
|
||
|
||
```shell
|
||
curl -o- https://gitee.com/turnon/linux-tutorial/raw/master/codes/linux/soft/nginx-install.sh | bash
|
||
wget -qO- https://gitee.com/turnon/linux-tutorial/raw/master/codes/linux/soft/nginx-install.sh | bash
|
||
```
|
||
|
||
- 自定义安装 - 下载脚本到本地,并按照以下格式执行:
|
||
|
||
```bash
|
||
sh nginx-install.sh [version]
|
||
```
|
||
|
||
## 参考资料
|
||
|
||
- http://www.dohooe.com/2016/03/03/352.html?utm_source=tuicool&utm_medium=referral
|
||
- [nginx+keepalived实现nginx双主高可用的负载均衡](https://blog.51cto.com/kling/1253474)
|