5.8 KiB
使用Vistio监控Istio服务网格中的流量
Vistio GitHub地址:https://github.com/nmnellis/vistio
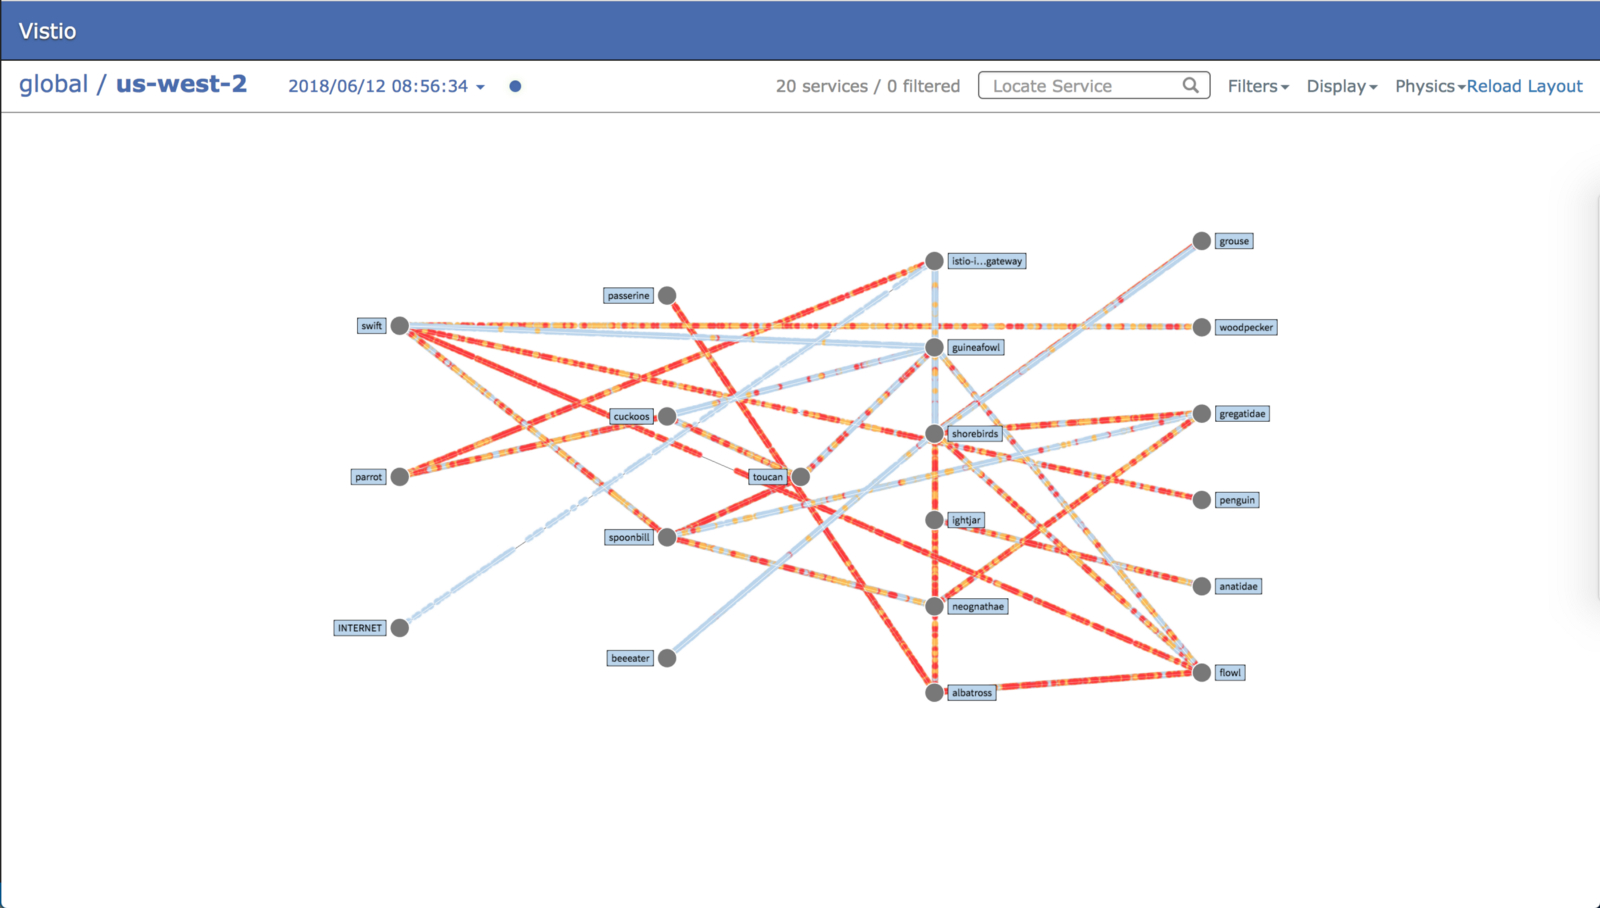
Vizceral是Netflix发布的一个开源项目,用于近乎实时地监控应用程序和集群之间的网络流量。Vistio是使用Vizceral对Istio和网格监控的改进。它利用Istio Mixer生成的指标,然后将其输入Prometheus。Vistio查询Prometheus并将数据存储在本地以允许重播流量。
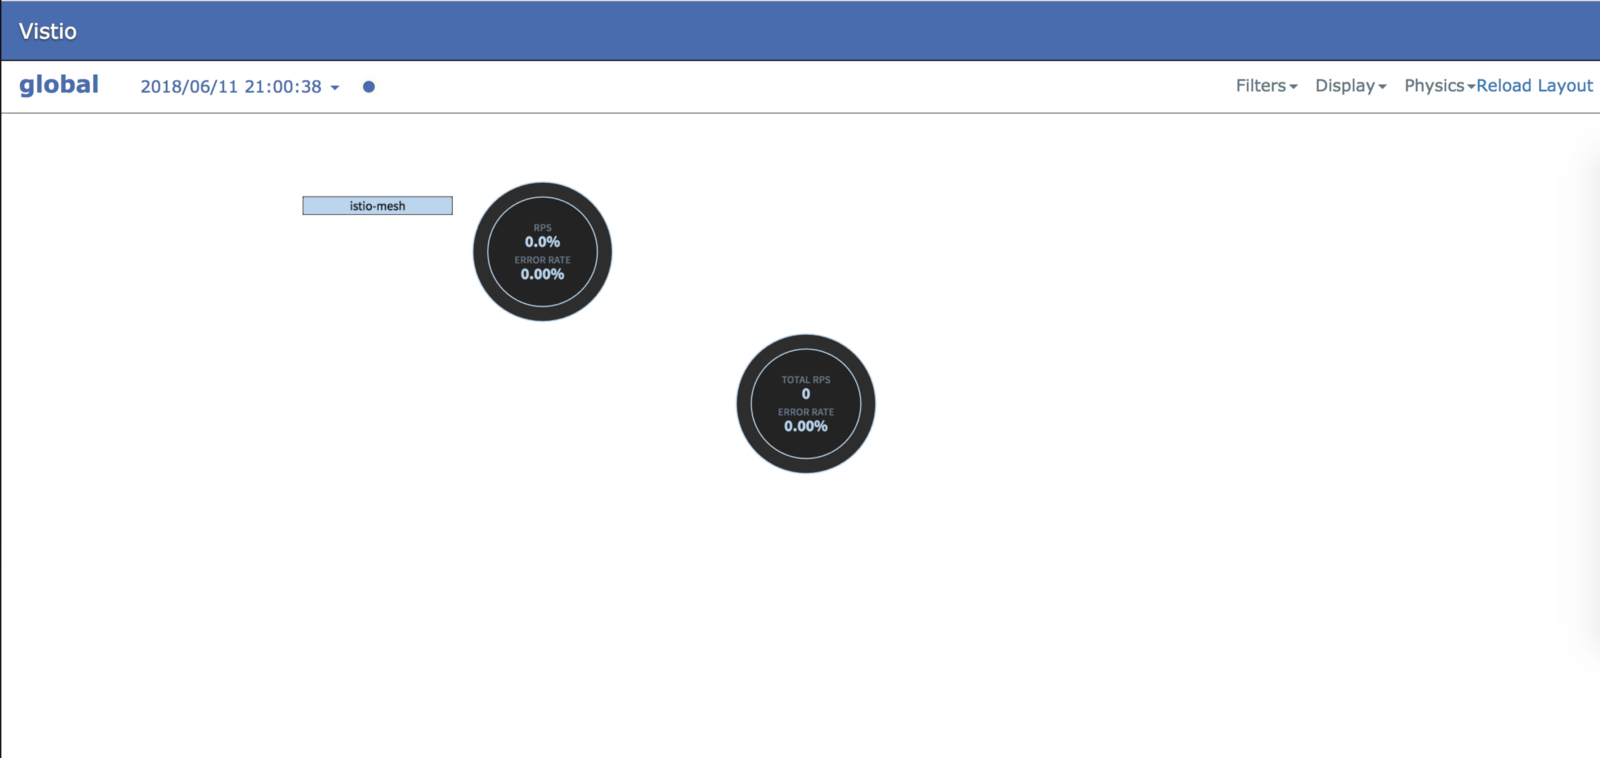
Vizceral有两个可视化级别,全局可视化和集群级别可视化。在全局范围内(如上所示),您可以通过Istio Ingress Gateway等入口点将从Internet到Istio服务网格网络的网络流量可视化,或者您可以在Istio服务网格网络中显示总网络流量。
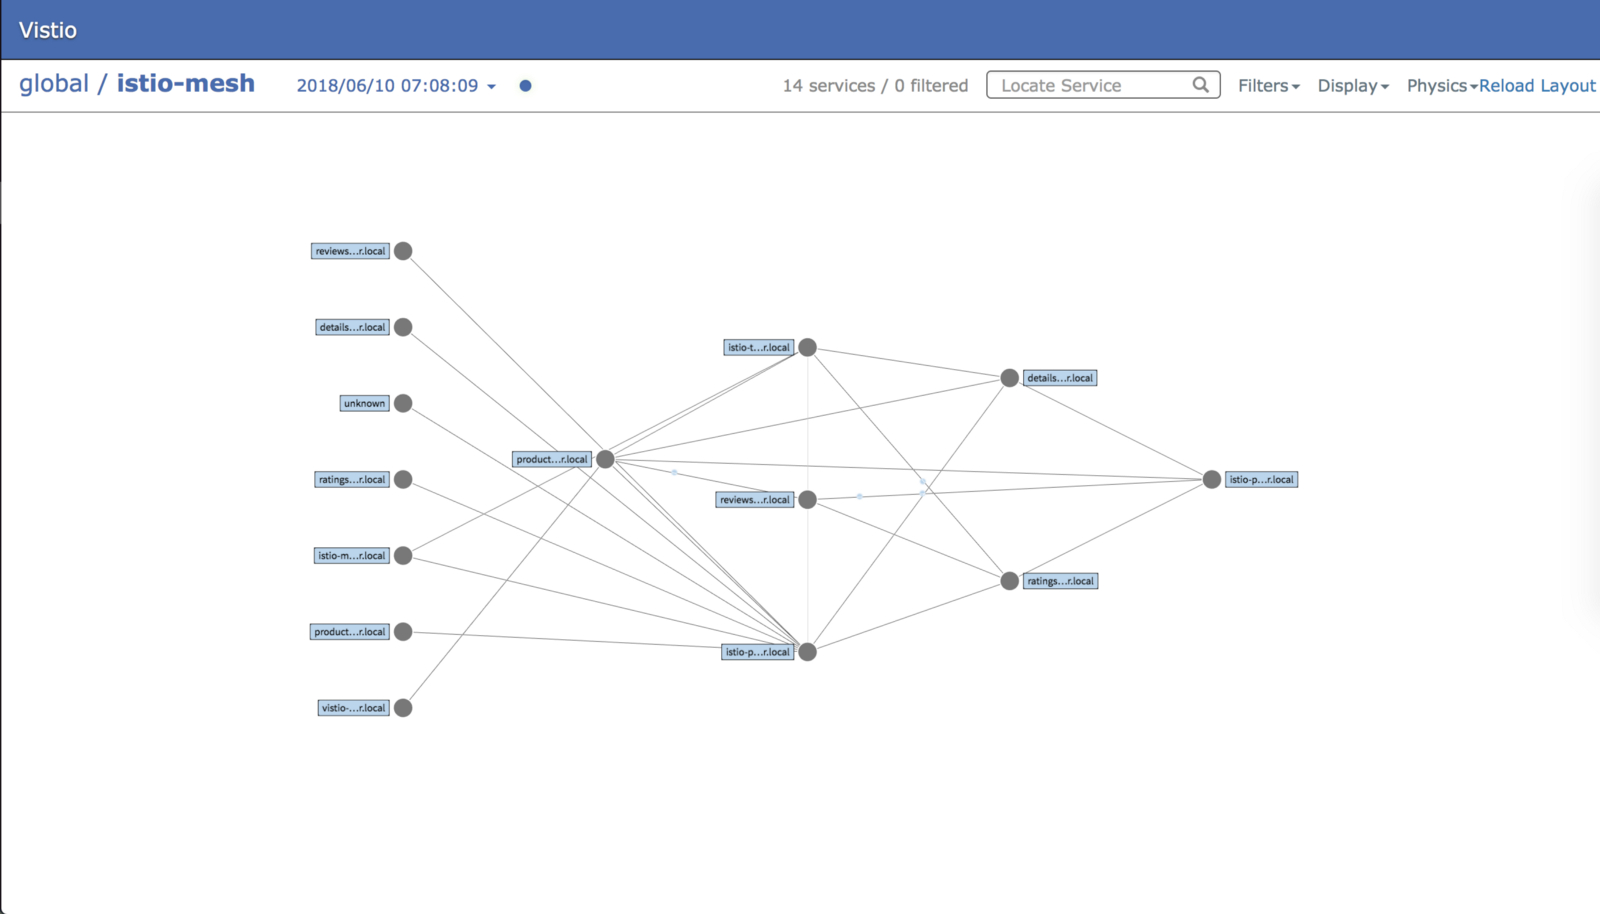
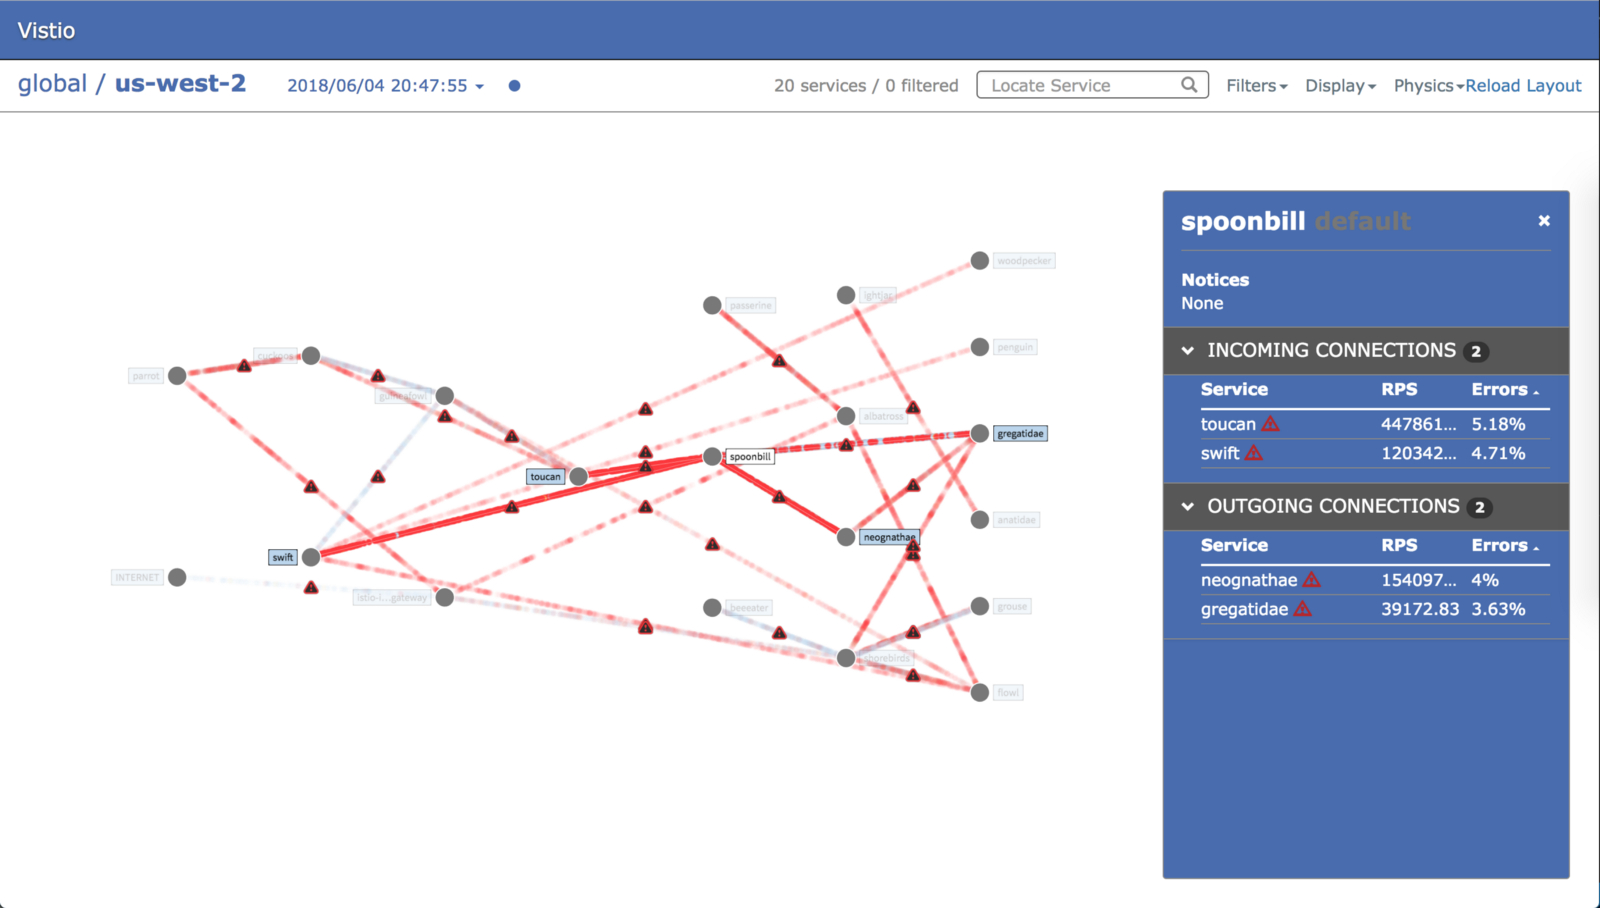
在集群级别(如下所示),您可以可视化内部网格的流量。通过设置警告和错误级别警报,当应用程序出现问题时可以被快速检测出来。
在Istio服务网格中安装Vistio
依赖
- Prometheus
- Istio 0.7或更高版本
假设
以下Demo使得这些假设更容易部署。如果您的环境设置不同,则可能需要将代码下载到本地并编辑一些文件。
- Prometheus部署在
istio-systemnamespace下,可以通过http://prometheus.istio-system:9090地址访问 - Istio mixer启用了
istio_request_countmetric - Kubernetes集群包含有
standardStorageClass - 为了便于部署已安装了Helm(可选)
前言
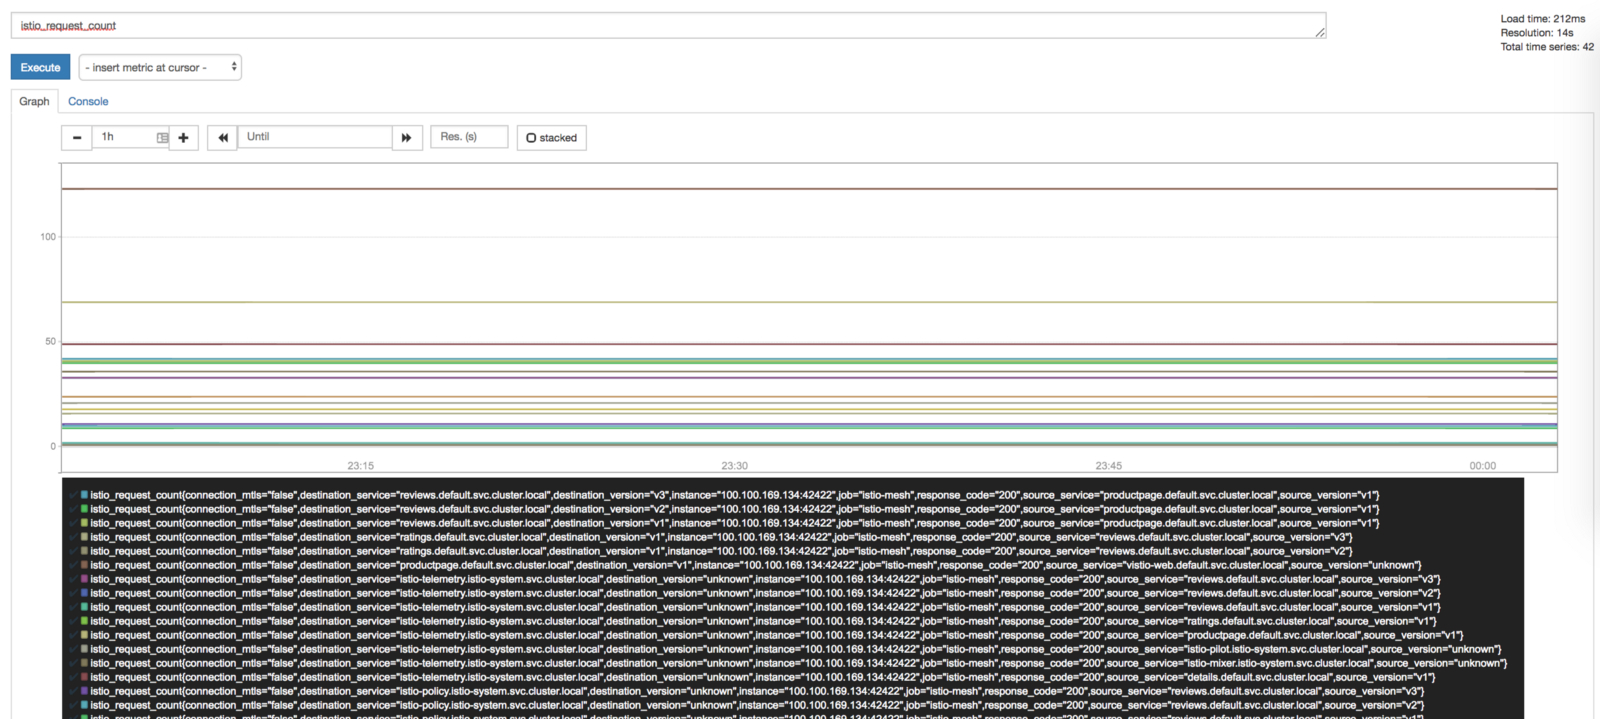
如果您还尚未部署服务网格,可以按照Istio Bookinfo Demo 中的说明部署Istio及其示例应用程序。您需要能够在应用程序之间生成流量。要测试指标是否从Mixer正确发送到Prometheus,您可以运行以下Prometheus查询istio_request_count,应该会看到多个条目。
部署Vistio
我们直接使用kubectl命令来部署。
使用kubectl部署
kubectl apply -f https://raw.githubusercontent.com/rootsongjc/kubernetes-handbook/master/manifests/vistio/vistio-mesh-only.yaml -n default
验证和暴露Vistio Web/API
验证应用程序已经启动并在运行。使用kubectl port-forward命令暴露应用程序。
验证vistio-api
kubectl describe statefulset vistio-api -n default
日志检查(可选的)
您应该能够从vistio-api的日志中查看是否存在与Prometheus的连接/查询相关的错误。
kubectl logs -n default -c vistio-api $(kubectl -n default get pod -l app=vistio-api -o jsonpath='{.items[0].metadata.name}')
验证vistio-web
kubectl describe deployment vistio-web -n default
暴露vistio-api
我们使用kubectl port-forward将vistio-api暴露到http://localhost:9191。
kubectl -n default port-forward $(kubectl -n default get pod -l app=vistio-api -o jsonpath='{.items[0].metadata.name}') 9091:9091 &
验证visito-api
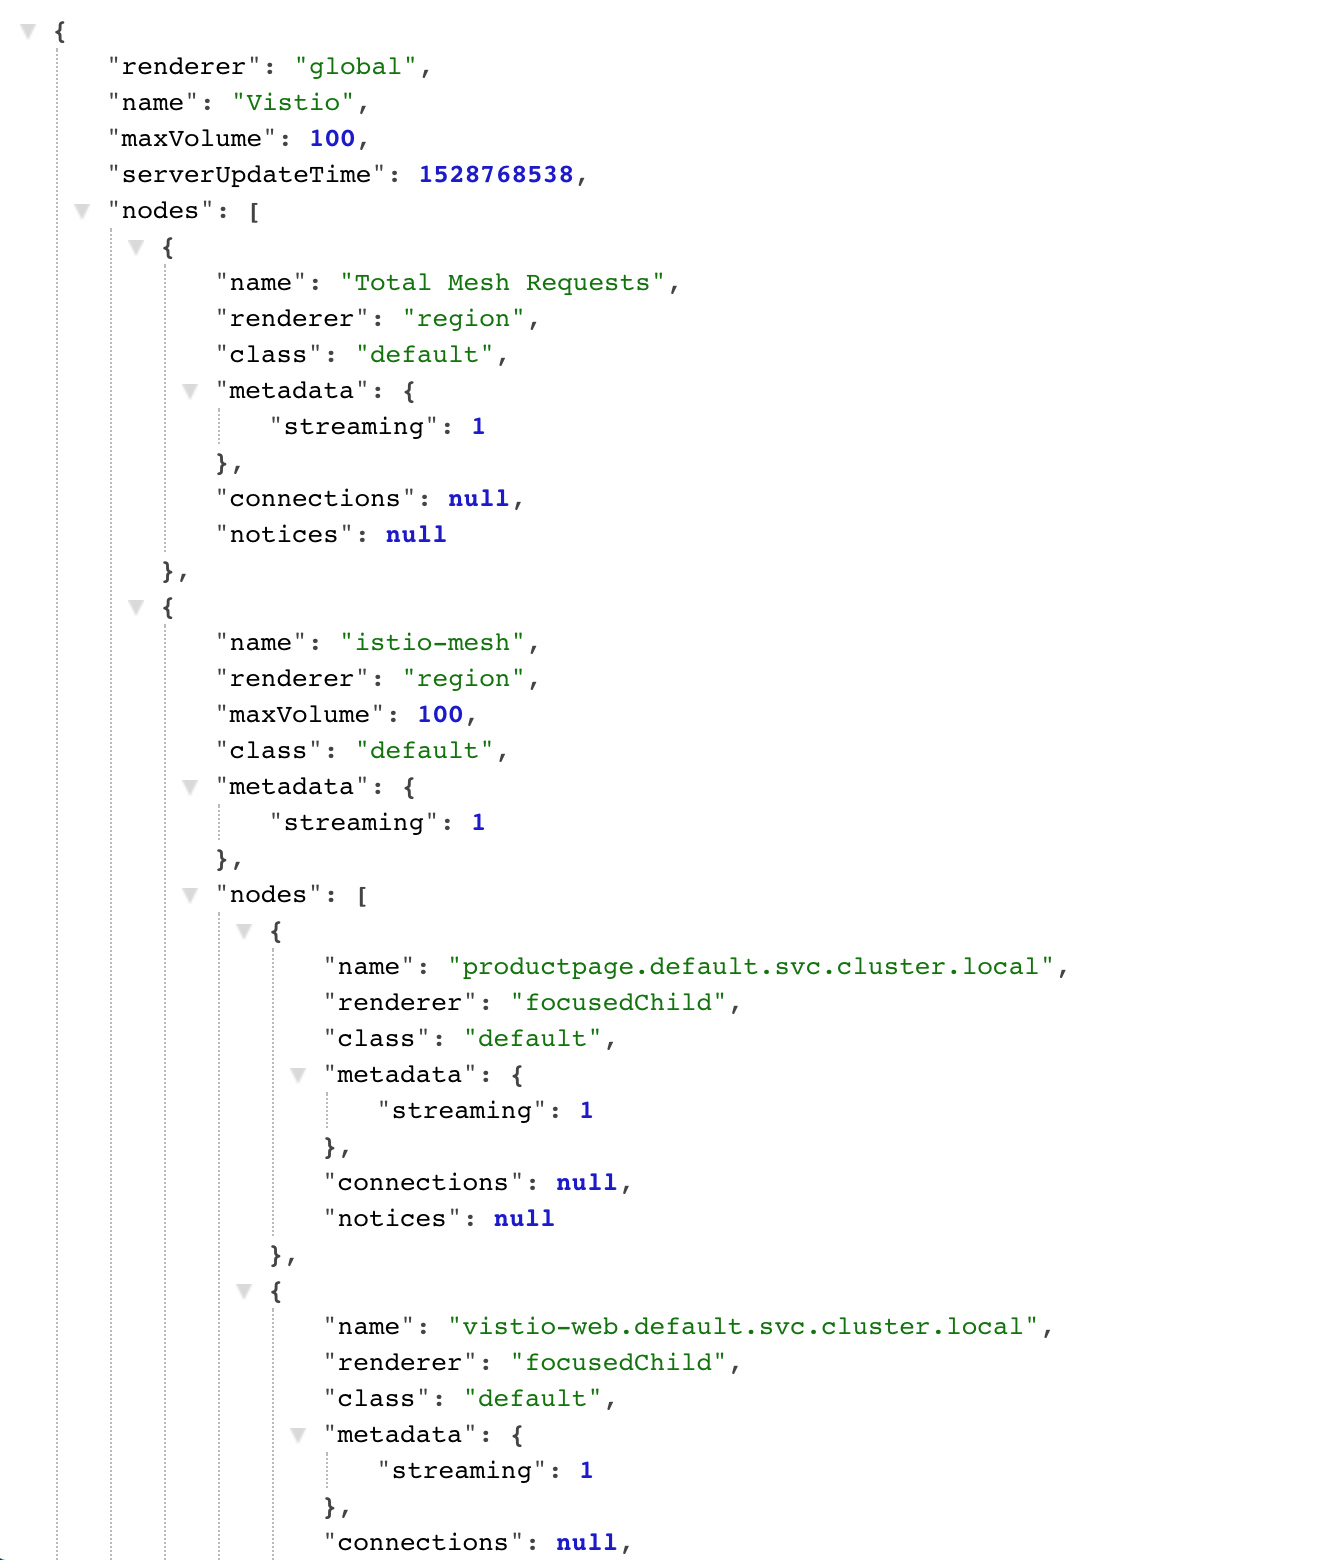
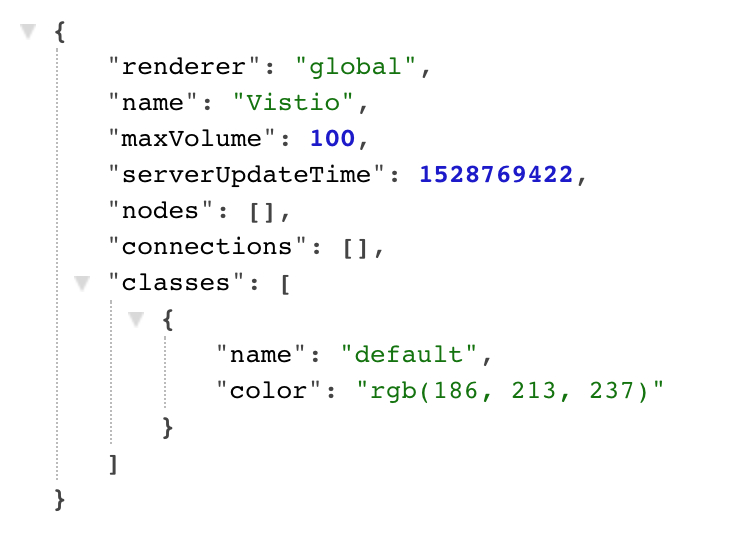
vistio-web调用vistio-api来渲染服务网格。访问http://localhost:9091/graph您应该会看到类似下列的输出。
暴露Vistio
在另一个命令行终端中,暴露Vizcera UI到http://localhost:8080。
kubectl -n default port-forward $(kubectl -n default get pod -l app=vistio-web -o jsonpath='{.items[0].metadata.name}') 8080:8080 &
访问Vistio
如果一切都已经启动并准备就绪,您就可以访问Vistio UI,开始探索服务网格网络,访问http://localhost:8080您将会看到类似下图的输出。
探索
在全局范围内,您将看到Istio网格内所有请求的总和。如果您部署了istio-ingressgateway,则可以选择显示通过其他配置从网格外部接收的流量,参考使用Ingress Gateway部署Vistio。
如果您点击istio-mesh气泡,您将能够查看您的网状网络。
在您的Istio网格中,您可以使用许多可视化工具来帮助您查明故障的应用程序。
使用屏幕右上方的过滤器可以快速过滤出错误率较高的应用程序。通过高级配置,当错误率超过特定值时,也可以触发警报。警报将显示给定应用程序的当前错误率趋势。
问题排查
访问http://localhost:9091/graph,如果您从vistio-api中看到以下输出,表示某些功能无法正常工作。正确的输出显示在教程上面。
1. 检查vistio-api日志中是否有错误——在大多数情况下,vistio-api将记录与Prometheus通信时遇到的任何问题。
kubectl logs -n default -c vistio-api $(kubectl -n default get pod -l app=vistio-api -o jsonpath='{.items[0].metadata.name}')
2. 验证Prometheus查询——vistio-api使用以下查询检索其数据。您应该确保Prometheus内部的数据都存在。
# Global Level Query
sum(rate(istio_request_count[1m])) by (response_code)
# Cluster Level Query
sum(rate(istio_request_count[1m])) by (source_service,destination_service,response_code)
3. 提交Issue——如果遇到问题无法解决请提交Issue:https://github.com/nmnellis/vistio/issues
